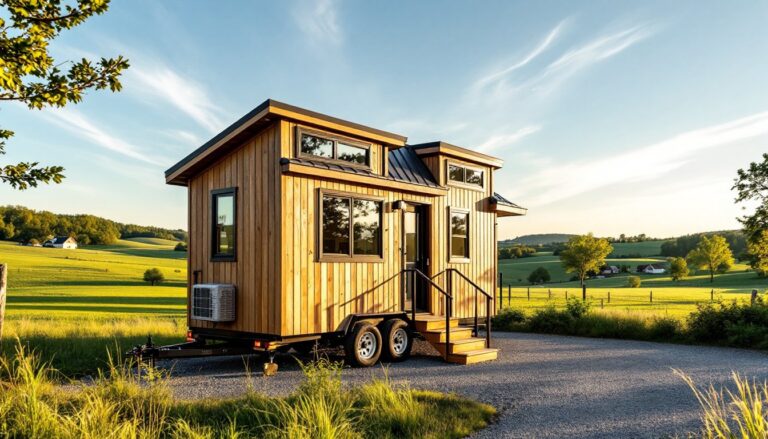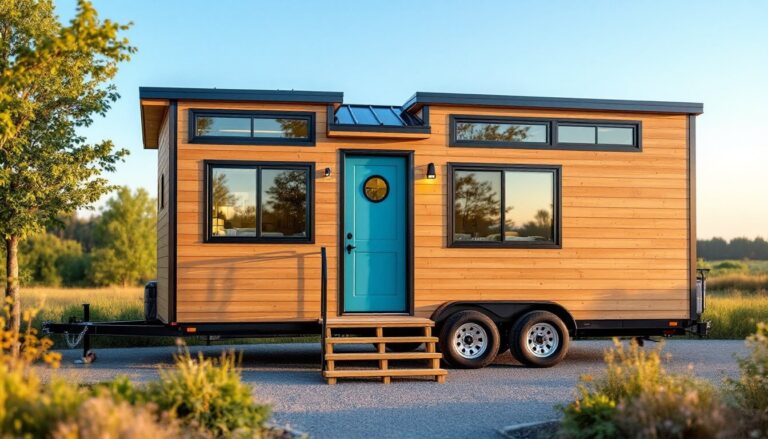

Building a tiny house yourself isn’t just a trend, it’s a practical response to housing costs, environmental concerns, and the desire for simpler living. Unlike conventional construction, a DIY tiny house project can be tackled by someone with intermediate carpentry skills, a solid plan, and a few months of focused work. This guide walks through the critical stages of tiny house construction, from planning and foundation work to interior systems and finish carpentry. Whether you’re building on a trailer for mobility or a permanent foundation for a backyard ADU, the principles remain consistent: smart design, code-compliant systems, and attention to detail at every step.
Key Takeaways
- A DIY tiny house project can reduce building costs by 40-60% compared to professional construction, bringing a fully-equipped home down to $20,000-$50,000 in materials and permits.
- Proper planning before construction—including zoning research, scaled drawings, and detailed material budgeting—is essential for a successful tiny house DIY build.
- Trailer-based tiny houses typically use dual-axle utility trailers with steel I-beam construction, while permanent builds benefit from concrete slabs or pier-and-beam foundations for stability and code compliance.
- Insulation is critical in tiny houses; aim for R-13 to R-21 in walls, R-30 to R-38 in roofs, and use closed-cell spray foam or mineral wool batts to minimize heat loss in a compact space.
- Electrical and plumbing systems require careful planning and often professional oversight—follow NEC requirements for outlets and GFCI protection, use PEX tubing for plumbing flexibility, and always obtain necessary permits and inspections.
- First-time builders should expect 500-1,000 hours of work over 4-8 months and prioritize space-saving features like loft sleeping areas, built-in storage, and multi-functional furniture to maximize livability.
Why Build a Tiny House Yourself?
The average professionally-built tiny house costs $50,000 to $120,000, depending on size and finishes. A DIY build can cut that figure by 40-60%, bringing a well-equipped 200-square-foot home down to $20,000-$50,000 in materials, tools, and permits. Beyond cost savings, building your own gives you complete control over layout, materials, and systems, critical when every square foot counts.
DIY construction also teaches valuable skills. Framing, wiring, plumbing, and finish carpentry are all within reach for someone willing to learn, and many builders find that tackling one tiny house prepares them for future projects or even side income. That said, be realistic: a first-time builder should expect 500-1,000 hours of work spread over 4-8 months, depending on complexity and available time.
Finally, there’s the satisfaction of living in something you built. A DIY tiny house reflects your priorities, whether that’s a gourmet kitchen, a full bath, or maximized storage, without compromise.
Essential Planning Steps Before You Start Building
Start with your local zoning and building codes. Tiny houses on wheels (THOWs) often fall into an RV or mobile dwelling category, while foundation-built tiny houses are subject to the International Residential Code (IRC), which sets minimum room sizes, ceiling heights (typically 6’8″ in habitable rooms), and egress requirements. Many jurisdictions now have ADU (accessory dwelling unit) provisions that make suburban tiny homes easier to permit.
Next, decide on your layout and create scaled drawings. Use graph paper or free software like SketchUp to map every inch: bed lofts, kitchen counters, bath fixtures, storage. Standard trailer widths are 8’6″ (road-legal without permits), with lengths ranging from 16′ to 28′. Foundation builds can go larger, but staying under 400 square feet often avoids additional permit complexity.
Develop a detailed materials list and budget. Expect to spend roughly $100-$150 per square foot for materials if doing your own labor. Price out lumber (2×4 studs, 2×6 floor joists, plywood sheathing), roofing (metal or asphalt shingles), windows and doors, insulation, drywall or interior paneling, and all fixtures. Add 10-15% for waste and mistakes. Finally, line up tool access: a miter saw, circular saw, cordless drill, level, tape measure, framing nailer (optional but speeds work), and basic hand tools are non-negotiable.
Choosing Your Tiny House Foundation and Frame
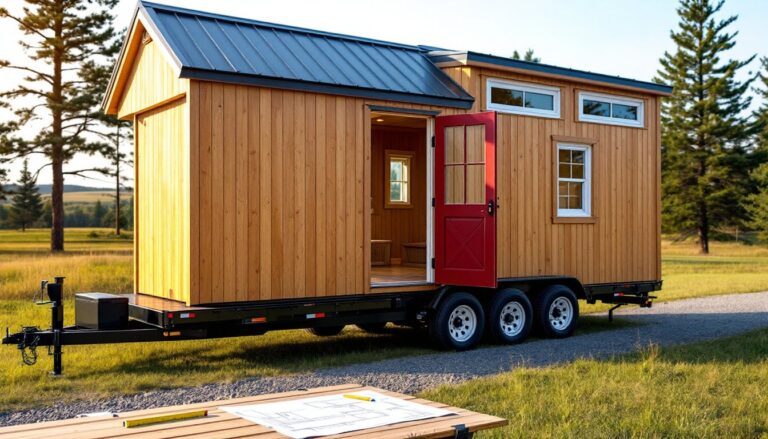
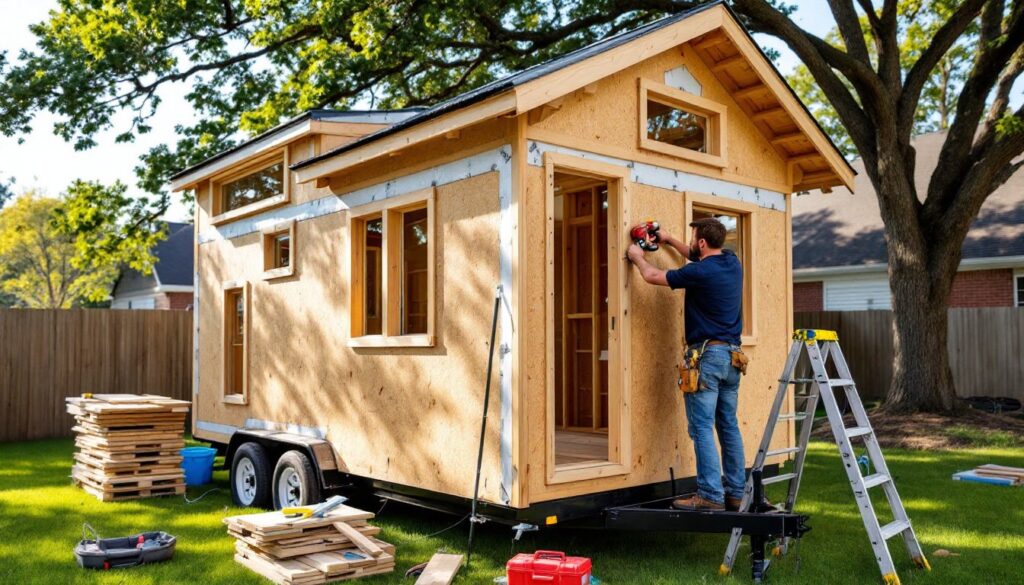
Trailer foundation: Most DIY tiny houses start with a dual-axle utility trailer rated for 10,000-14,000 lbs GVWR. Look for a trailer with steel I-beam construction and cross-members spaced 16″ on center to simplify floor framing. Expect to pay $4,000-$7,000 for a new trailer: used options save money but require careful inspection for rust and structural integrity.
Bolt 2×6 or 2×8 pressure-treated lumber to the trailer frame as a base, then build a floor deck with 3/4″ tongue-and-groove plywood or advantech subfloor. Insulate the floor cavity with rigid foam (R-10 to R-15) or spray foam to prevent heat loss through the metal frame. Install a moisture barrier between the insulation and subfloor.
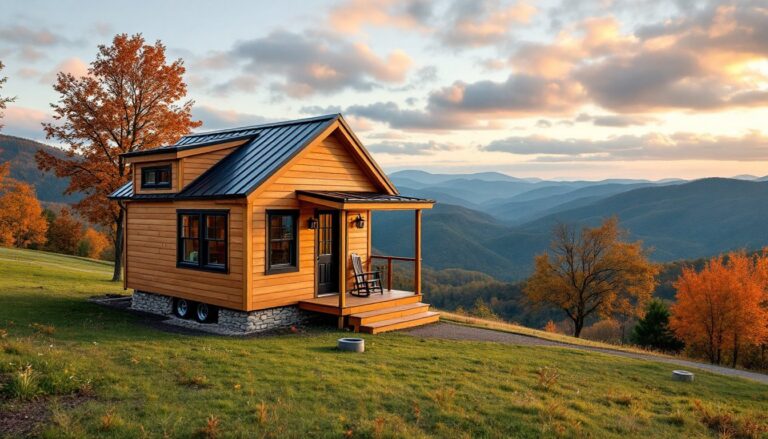
Permanent foundation: For a stationary tiny house, options include a concrete slab, pier and beam, or skid foundation. A 4″ concrete slab with vapor barrier and perimeter insulation is straightforward and code-compliant. Pier and beam allows for uneven terrain and easier utility access underneath. Budget $2,000-$5,000 for a basic foundation depending on soil conditions and site prep.
Framing: Use 2×4 studs on 16″ or 24″ centers for walls. Advanced framing techniques (single top plate, inline framing, two-stud corners) save lumber and improve insulation. For trailer builds, keep wall and roof weight down, total finished weight should stay well under the trailer’s GVWR. Frame walls flat on the subfloor, then tilt them up and secure to the floor deck with structural screws or hurricane ties.
Building the Shell: Walls, Roof, and Insulation
Sheath exterior walls with 7/16″ or 1/2″ OSB or plywood, fastened every 6″ along edges and 12″ in the field. Install a weather-resistant barrier (housewrap like Tyvek) over sheathing, taping all seams. This is your primary defense against moisture infiltration.
For siding, options include fiber cement panels (durable, low maintenance), tongue-and-groove cedar or pine (traditional look, requires finish), or metal panels (lightweight, ideal for trailers). Whatever you choose, include a rainscreen gap (furring strips) behind the siding to promote drainage and ventilation.
Roof framing depends on your design. A simple gable or shed roof uses 2×6 rafters on 16″ or 24″ centers. For trailer builds, keep the peak under 13’6″ total height to stay road-legal. Sheath the roof with 1/2″ or 5/8″ plywood, add synthetic underlayment, and finish with metal roofing (lightweight, durable, 40+ year lifespan) or architectural shingles.
Tiny house insulation is critical in a small space where heat loss and gain are magnified. Aim for R-13 to R-21 in walls, R-30 to R-38 in the roof, and R-10 to R-15 in floors. Closed-cell spray foam offers the highest R-value per inch and doubles as an air barrier, but it’s expensive. Mineral wool batts (Roxul) are a cost-effective alternative with good fire and moisture resistance. Avoid fiberglass in mobile builds, it settles and performs poorly if moisture gets in.
Install windows and exterior doors after sheathing but before siding. Use code-compliant egress windows in loft sleeping areas (minimum 5.7 sq ft opening, 24″ tall, 20″ wide). Properly flash all openings with sill pans and head flashing to prevent leaks.
Interior Systems: Plumbing, Electrical, and HVAC for DIYers
Electrical: Most tiny houses run on standard 120/240V service, either via a 30-amp RV plug (for mobile builds) or a 100-amp panel (for permanent installations). Route Romex wiring through studs before insulation and drywall. Follow NEC requirements: outlets every 12′ along walls, GFCI protection in kitchens and baths, AFCI breakers for bedrooms. If you’re not confident, hire a licensed electrician for the rough-in and final connection. Many jurisdictions require an electrical permit and inspection. For off-grid builders, a properly designed tiny house electric setup with solar panels and battery storage can provide reliable power.
Plumbing: PEX tubing has largely replaced copper and CPVC for residential plumbing, it’s flexible, freeze-resistant, and DIY-friendly. Run hot and cold lines to the kitchen sink, bathroom sink, and shower. Use a standard 40-gallon (for permanent) or 6-gallon (for mobile) water heater. A tankless propane unit works well for off-grid setups. For drainage, use ABS or PVC pipe with proper venting per code (typically 1.5″ for sinks, 3″ for toilets). Trailer builds require careful planning: black and gray tanks or a connection to municipal sewer.
HVAC: Tiny houses lose and gain heat quickly. A ductless mini-split (12,000 BTU or less) provides both heating and cooling in one efficient unit. For colder climates, supplement with a small propane or wood stove. Ventilation is essential, install a quality bathroom exhaust fan and consider an ERV (energy recovery ventilator) to manage humidity without losing heat. Proper climate control strategies make a huge difference in comfort and energy costs.
Safety note: Wear appropriate PPE when working with electrical (rubber-soled shoes, insulated tools), plumbing (gloves, eye protection when soldering or using PEX crimpers), and cutting/drilling (safety glasses, ear protection, dust mask).
Space-Saving Interior Design and Finish Work
Interior finish work is where a tiny house goes from construction site to home. Start by insulating and running interior wiring and plumbing, then close up walls with 1/4″ plywood paneling, shiplap, or 1/2″ drywall. Drywall adds fire resistance and sound dampening but increases weight, critical for trailer builds.
Maximize vertical space with loft sleeping areas accessed by a built-in ladder or ship’s ladder. Lofts typically need 42-48″ of headroom for sitting up in bed. Build storage into every nook: under-stair drawers, overhead cabinets, bed platform compartments. Many small space living strategies seen on platforms like Apartment Therapy translate well to tiny house interiors.
Kitchens should include a two-burner cooktop (propane or induction), a compact fridge (12V or 110V), a deep single-bowl sink, and as much counter space as you can spare. Consider a drop-leaf or fold-out table for additional prep area. Use open shelving or shallow upper cabinets to avoid a cramped feel.
Bathrooms in tiny houses often feature a composting toilet (no plumbing, minimal odor when maintained), a corner shower with a 32″x32″ or 36″x36″ base, and a wall-mounted sink. If space allows, a small soaking tub or wet bath (where the entire room is the shower) can work. Finish with moisture-resistant materials: tile, vinyl plank, or sealed wood.
For flooring, luxury vinyl plank (LVP) offers durability, water resistance, and easy installation. Reclaimed wood flooring adds character and sustainability but requires more prep and finish work. Laminate is budget-friendly but less durable.
Finish carpentry, baseboards, trim, door and window casings, completes the look. Use a miter saw for clean 45-degree cuts on trim joints. Caulk and paint all seams for a professional finish. Choose light, neutral colors to make the space feel larger, and add personality with textiles, art, and smart lighting.
Conclusion
Building a tiny house yourself is a challenging, rewarding project that demands planning, patience, and a willingness to learn new skills. From securing a code-compliant foundation to wiring outlets and trimming out windows, every step builds toward a finished home that reflects your needs and craftsmanship. Take it one phase at a time, don’t skip the prep work, and ask for help when you need it, especially on structural, electrical, or plumbing tasks that require permits or expertise. The result is a space that’s truly yours.